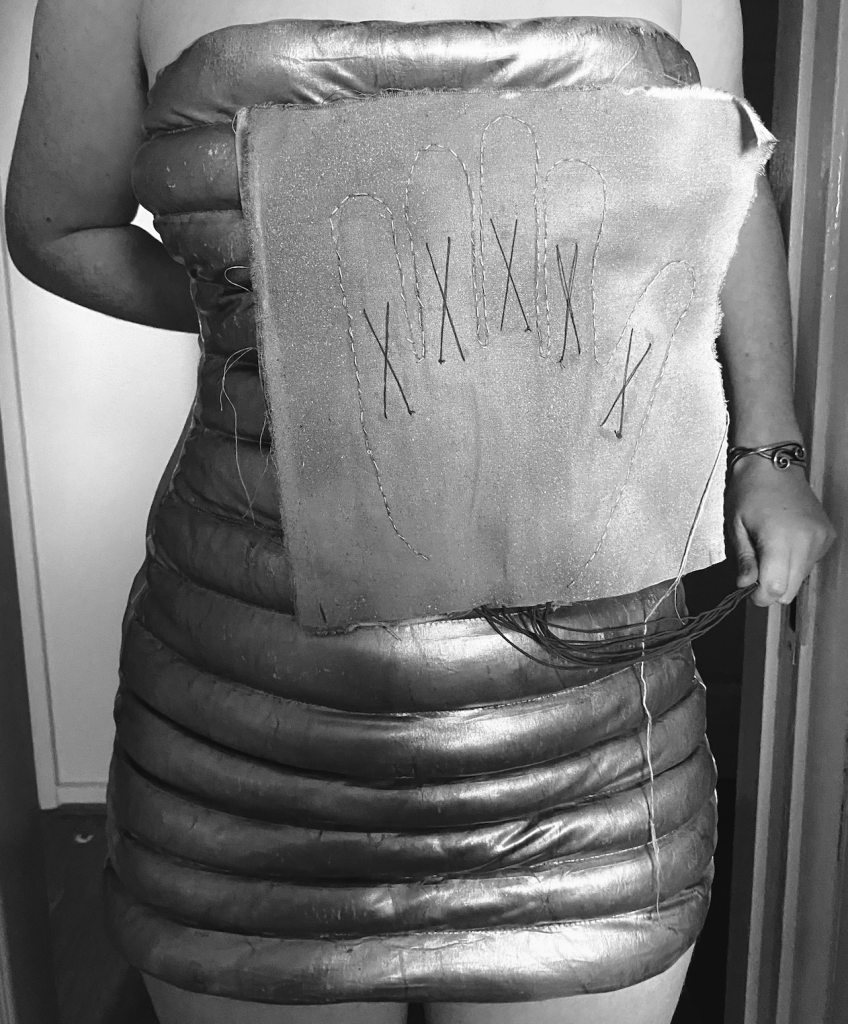
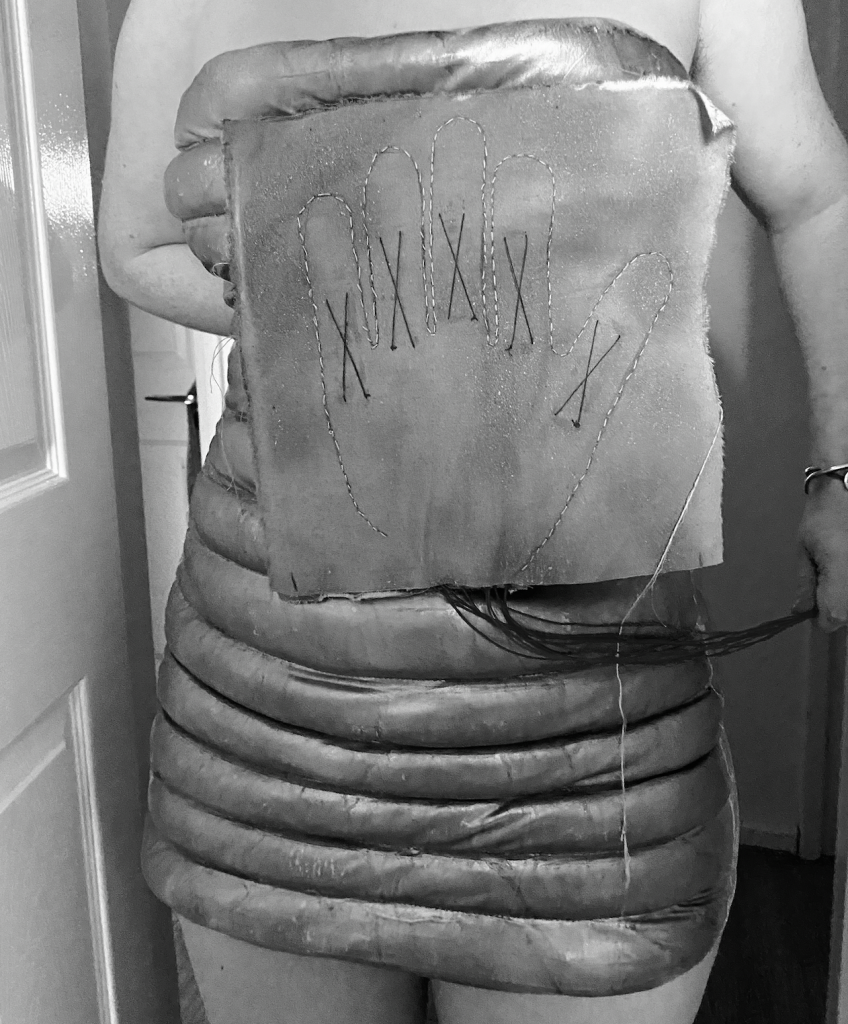
spray painting fabric – makes it more rigid and matches the dress
Stencilling and pining – measure twice cut once
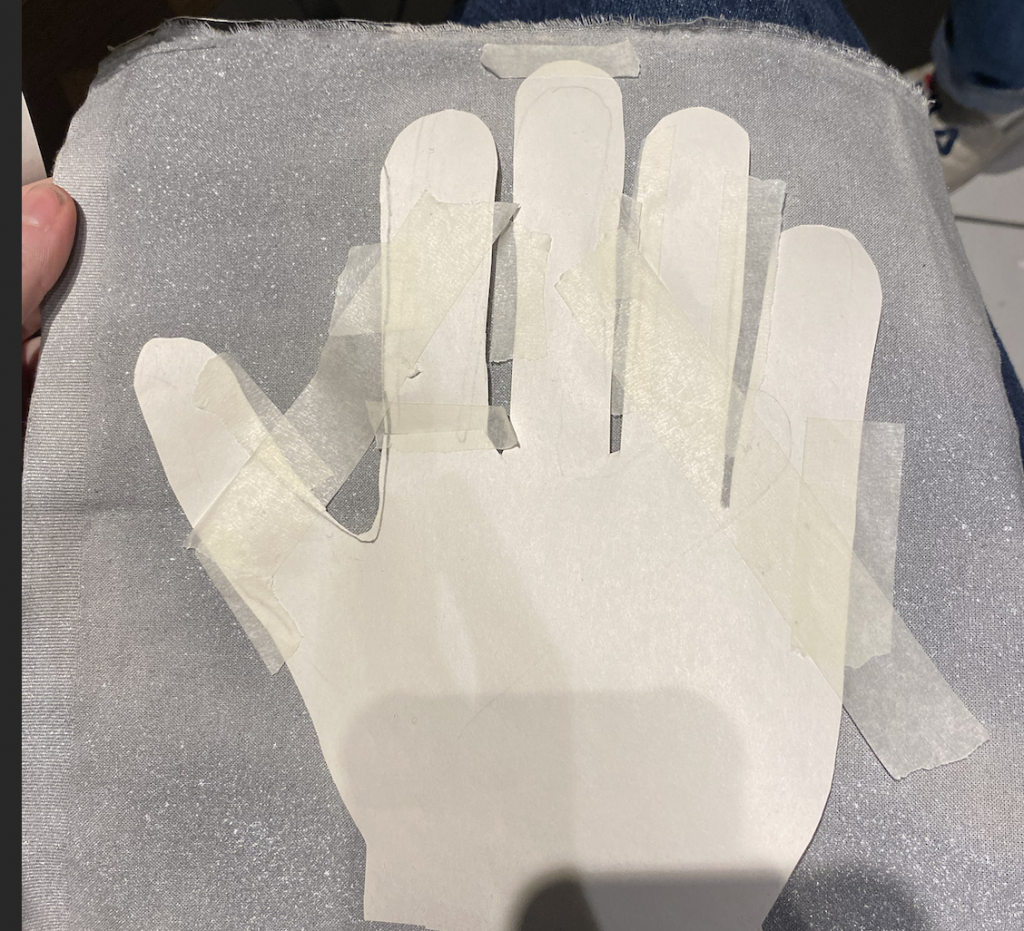
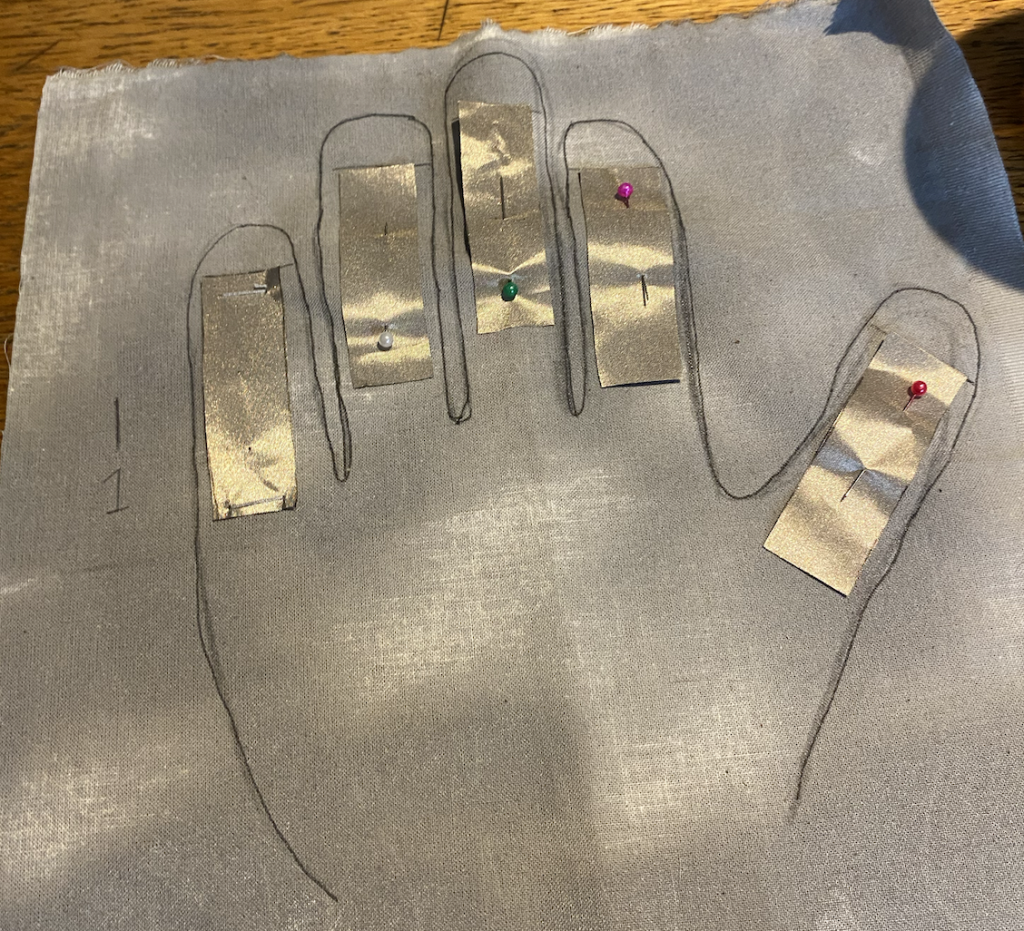
Sewing
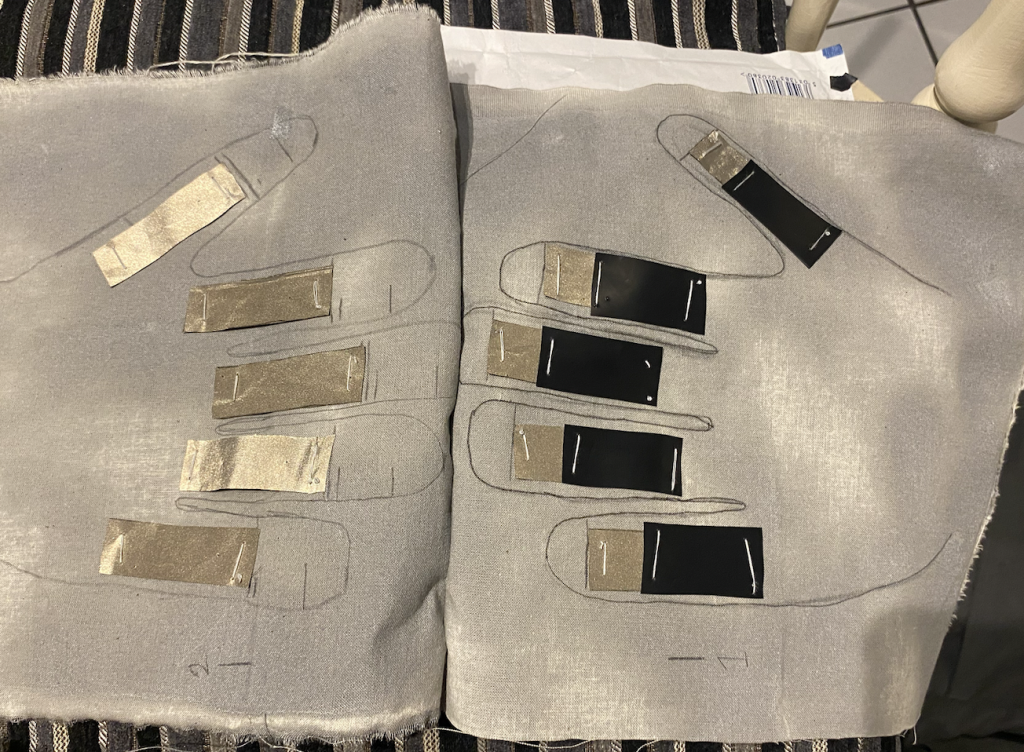
After pinning all the fabric in place I began sewing using a simple stitch, the same as I used in the prototype.
Wiring
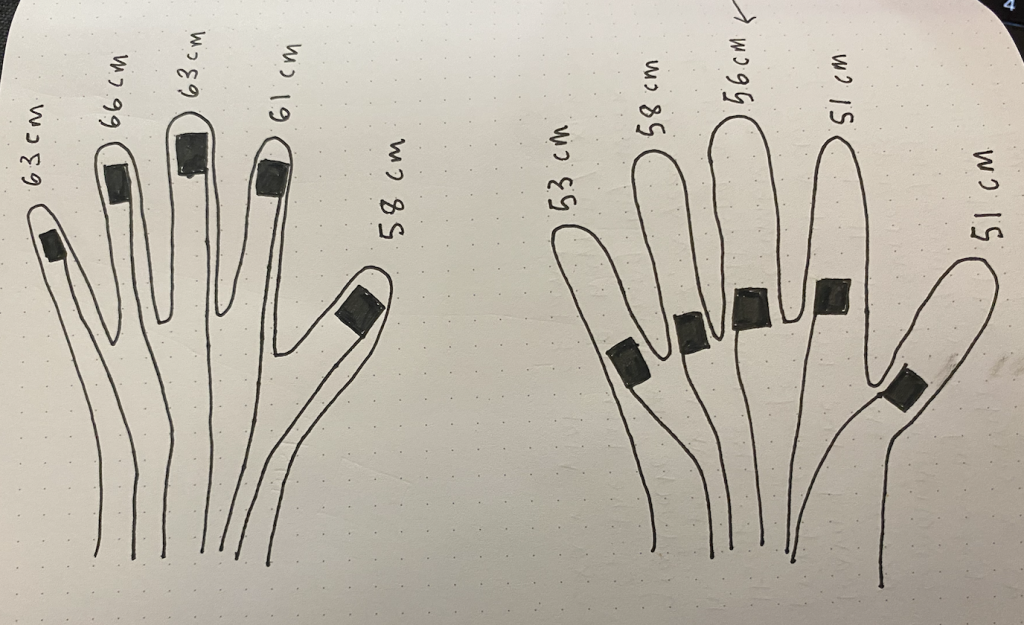
I made a diagram to note the length of wire needed for each side of the sensor. Because the conductive fabric was already placed where I wanted it to be I used a tape measure to gain an idea of how long the wire needed to be. I made sure that the wire was longer than necessary as I could always trim it later, I cut the wire with at least 3cm excess.
because the wires are semi-perminant I felt choosing the most suitable colour was important. I considered white and red. White didn’t look right to me, the low contrast was unappealing and boring. I thought that the red wires coming from the bottom of the hand could look like veins, the more I thought about this potential interpretation the more I liked it. To me, this gives a sense of aliveness to the hand.
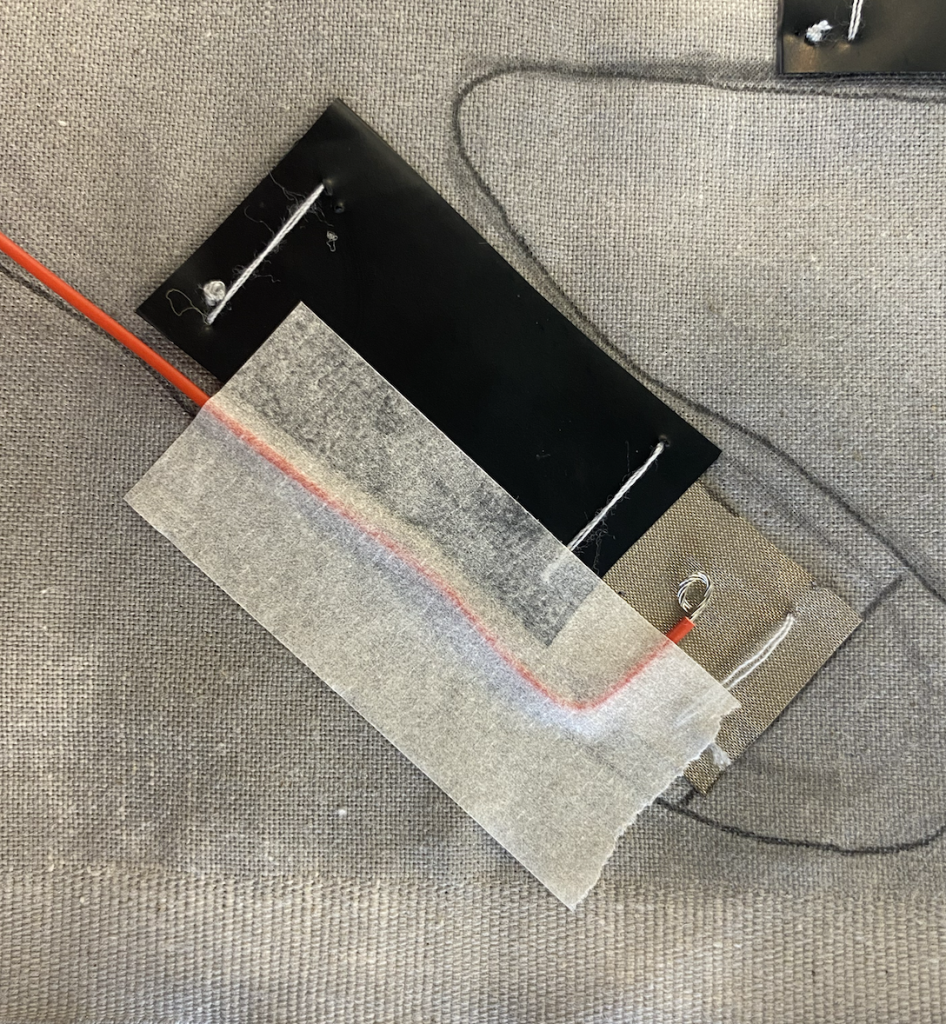
Following the same method as before as I found sewing the wire impossible unless it was taped to the fabric
Side 1:
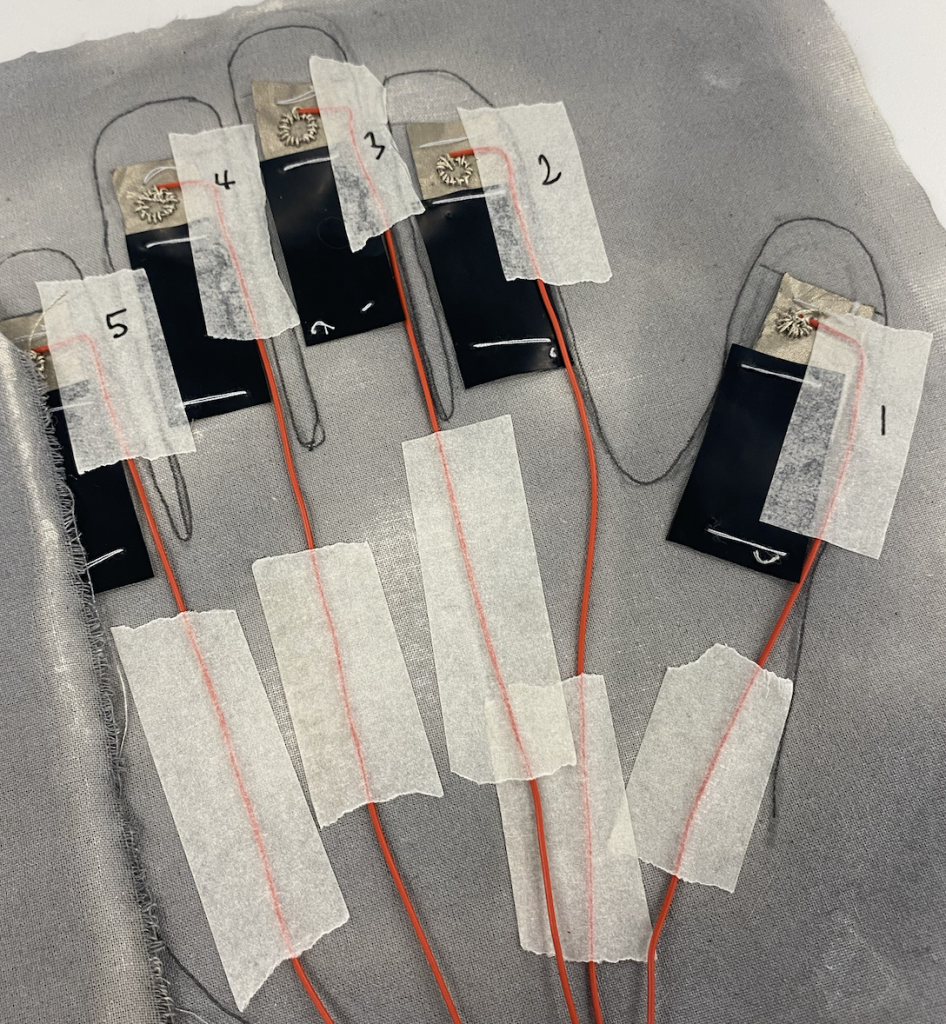
labelling each sensor
Side 2:
I realised that I had made an error when sewing the conductive fabric to both sides of the sensor before adding the wire. I didn’t want the conductive thread that attached the wire to the circuit to be visible or touchable as it could interfere with the connections and be damaged more easily. I unpicked the conductive fabric and thought about a way to work around this problem.
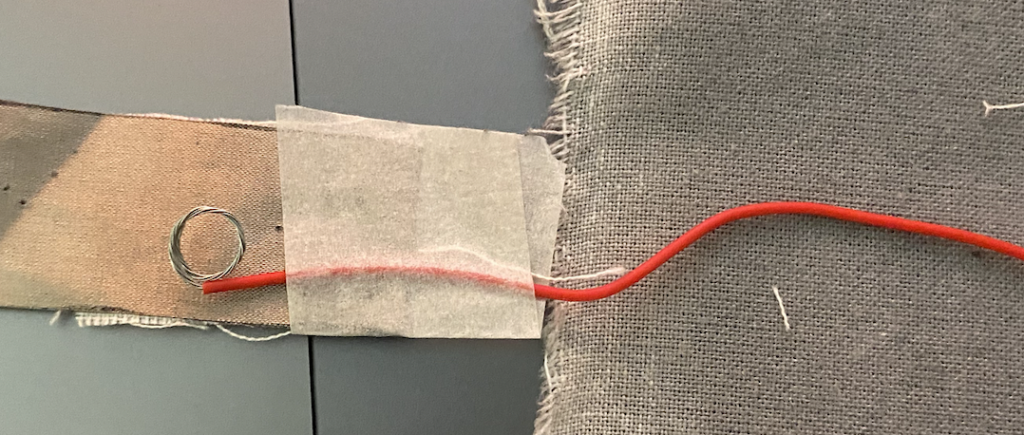
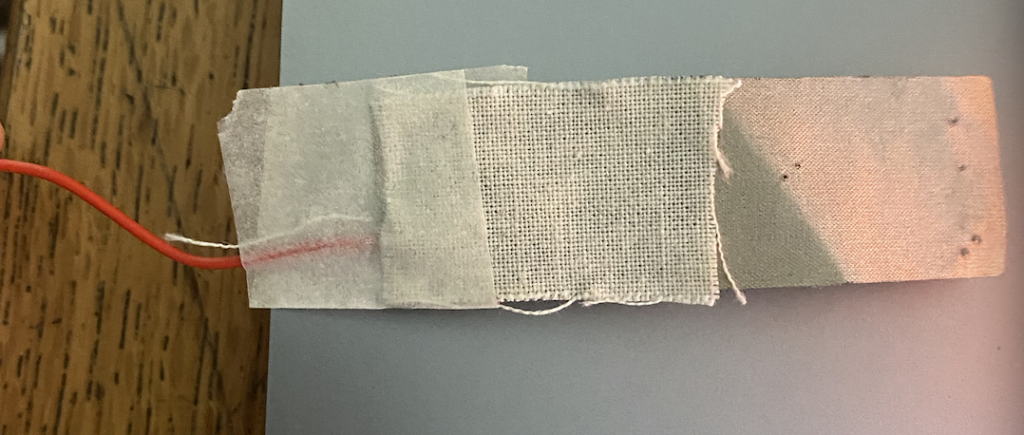
I tried to sew directly into the conductive fabric but the material was challenging. So using fabric glue I attached a piece of backing fabric to the conductive fabric, which made it much easier to sew into.
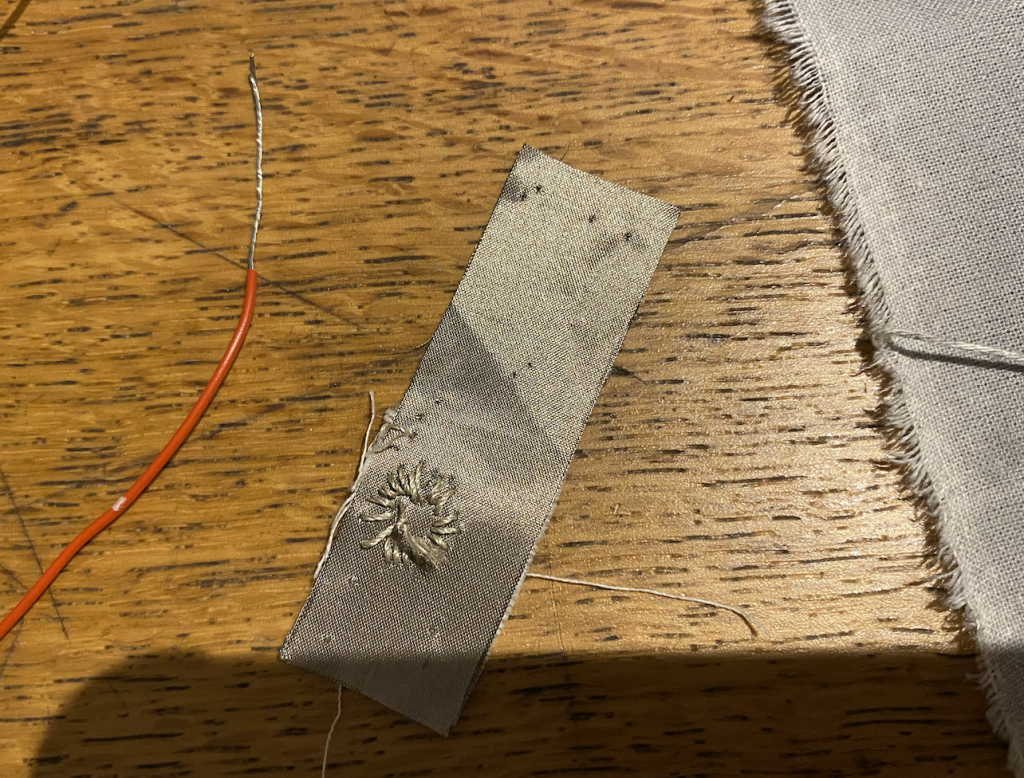
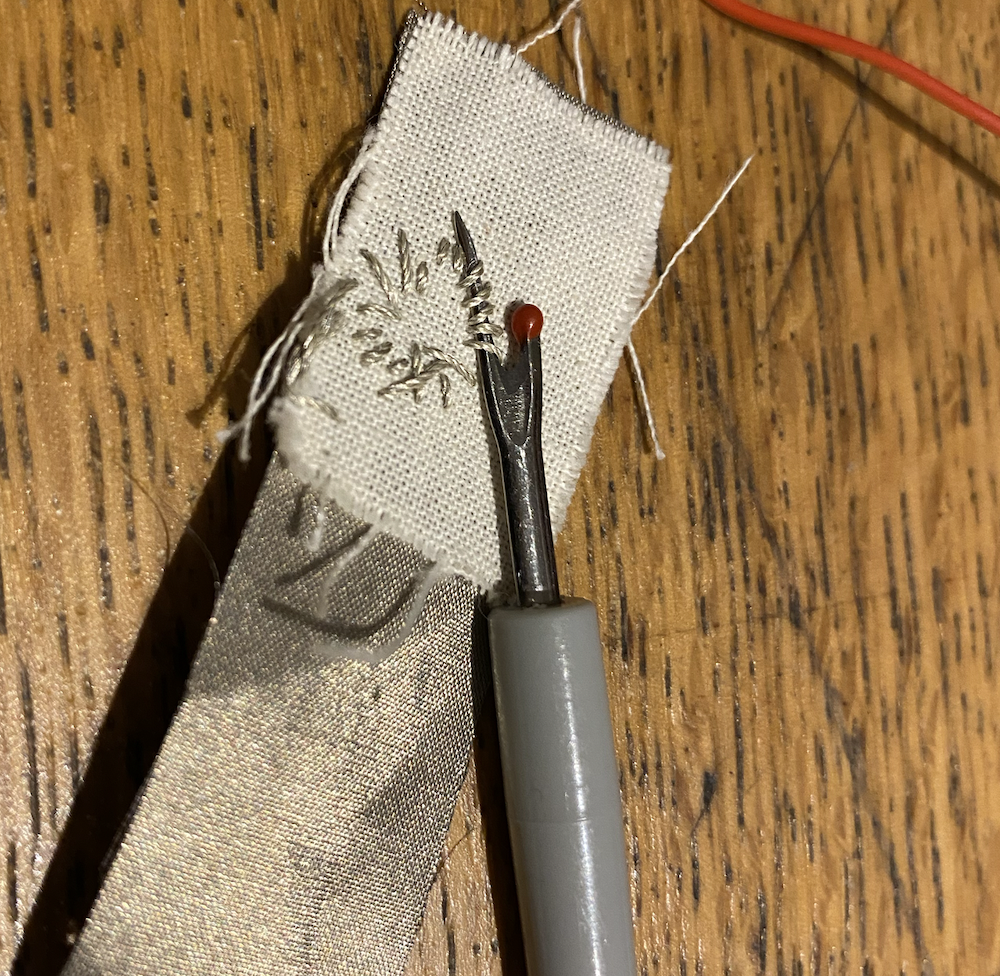
One of the wires fell out of the stitching and so I had to repeat the process again.
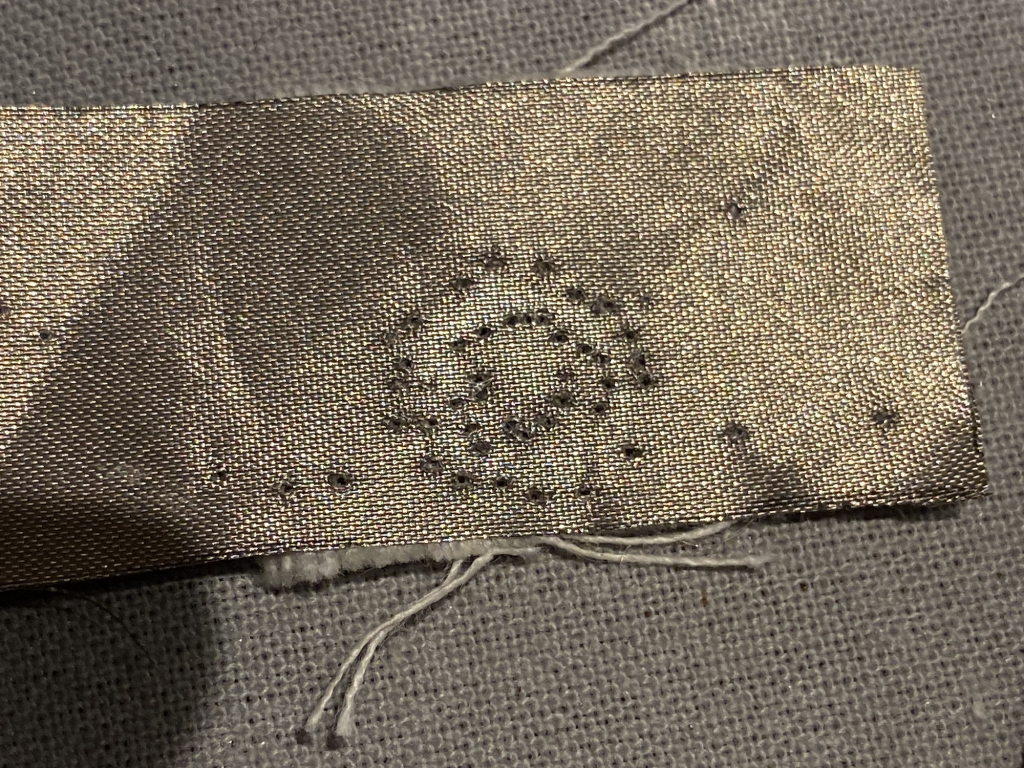
I think if I was to make fabric sensors in the future I would actually do it this way instead of how I initially did it. It would have been beneficial to be able to move each side of the sensor independently and I found sewing into the smaller pieces much easier as being able to move the fabric when working helped me to stitch more accurately.
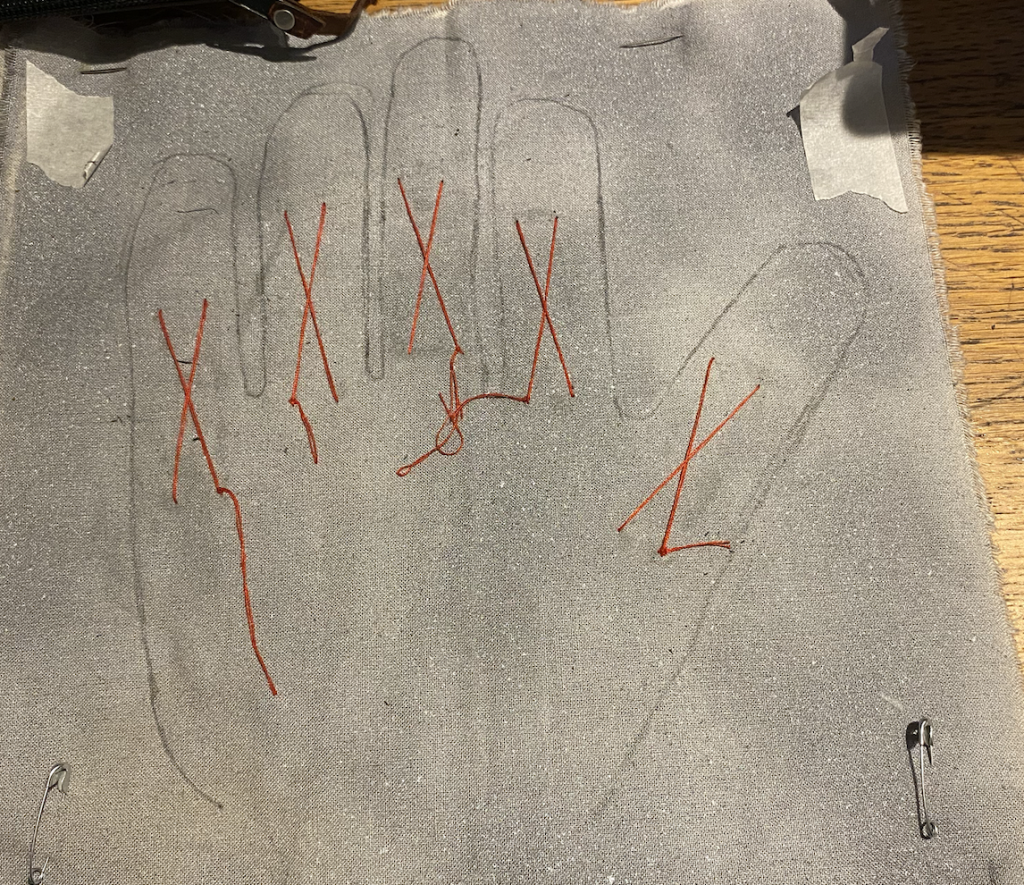
I sewed the sensors in on the outer side with red crosses. I think this adds aesthetic interest and also may encourage audience that it is the point to make contact with.
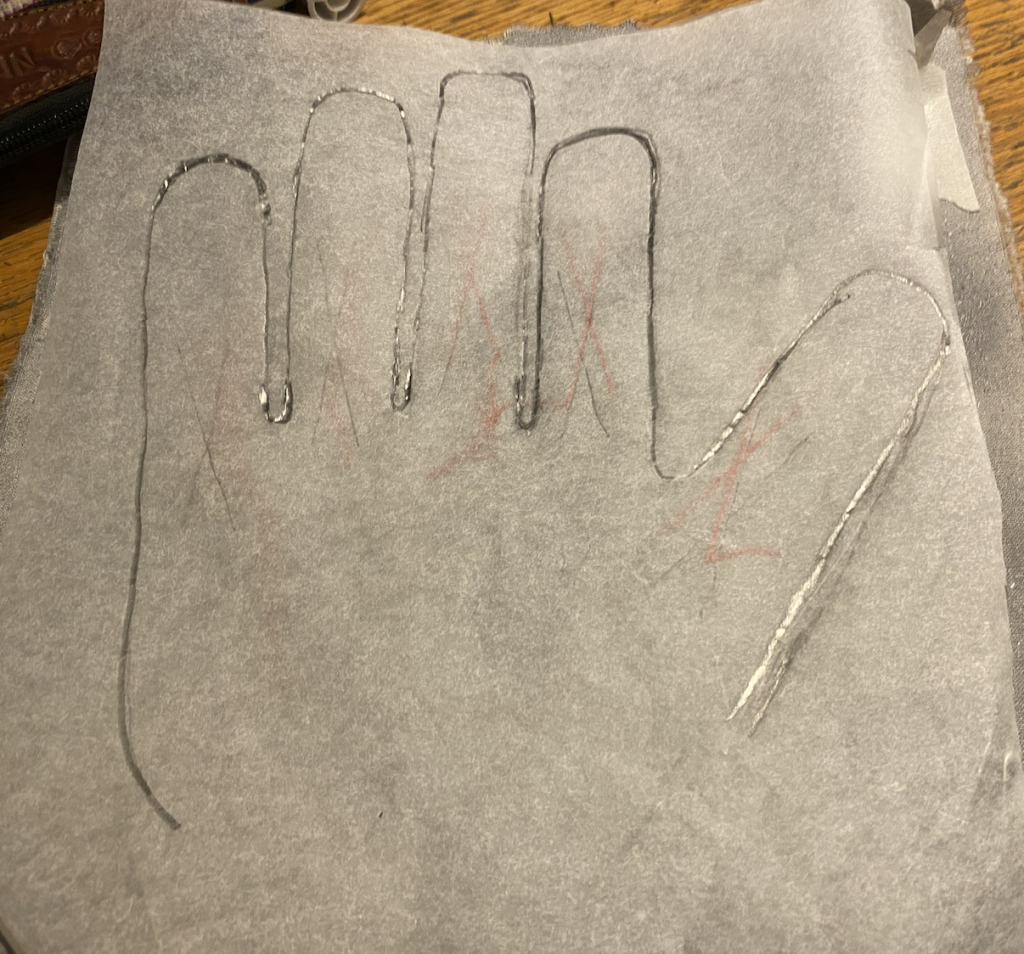
Greaseproof paper, as it is transparent was useful in outlining the shape of the hand according to wear the sensor are placed.
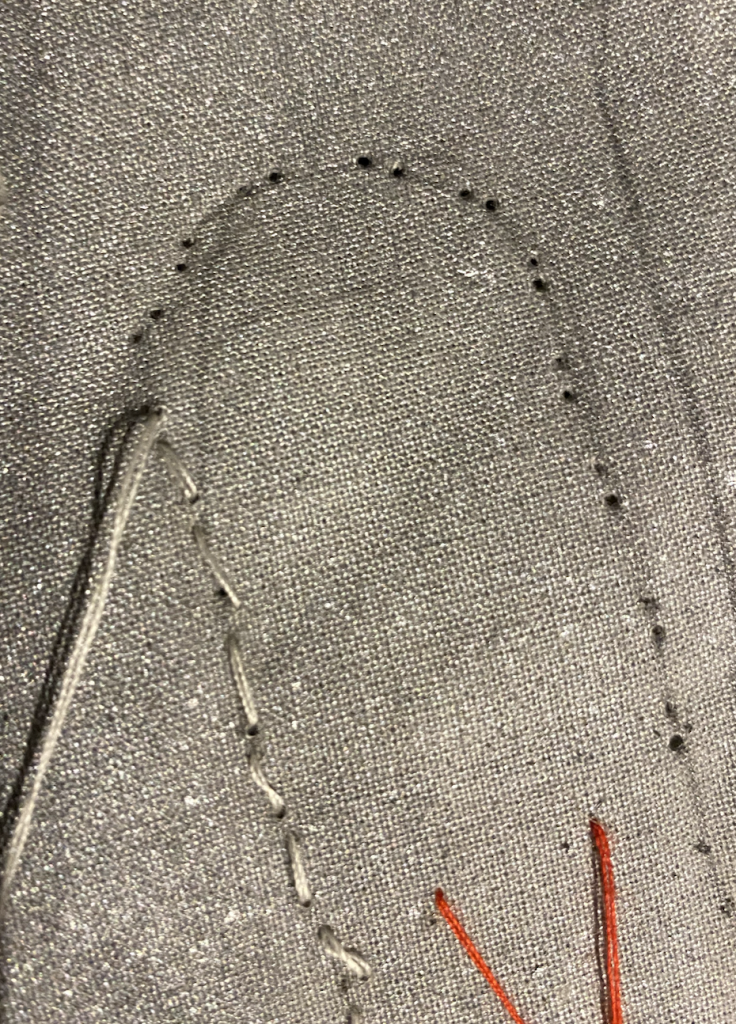
I found it easier to sew the fabric by piercing wholes in it first. Because of the spray paint I used on the fabric the texture was more rigid this had positive and negative repercussions but now the sewing is done I appreciate the stiffness of the fabric.
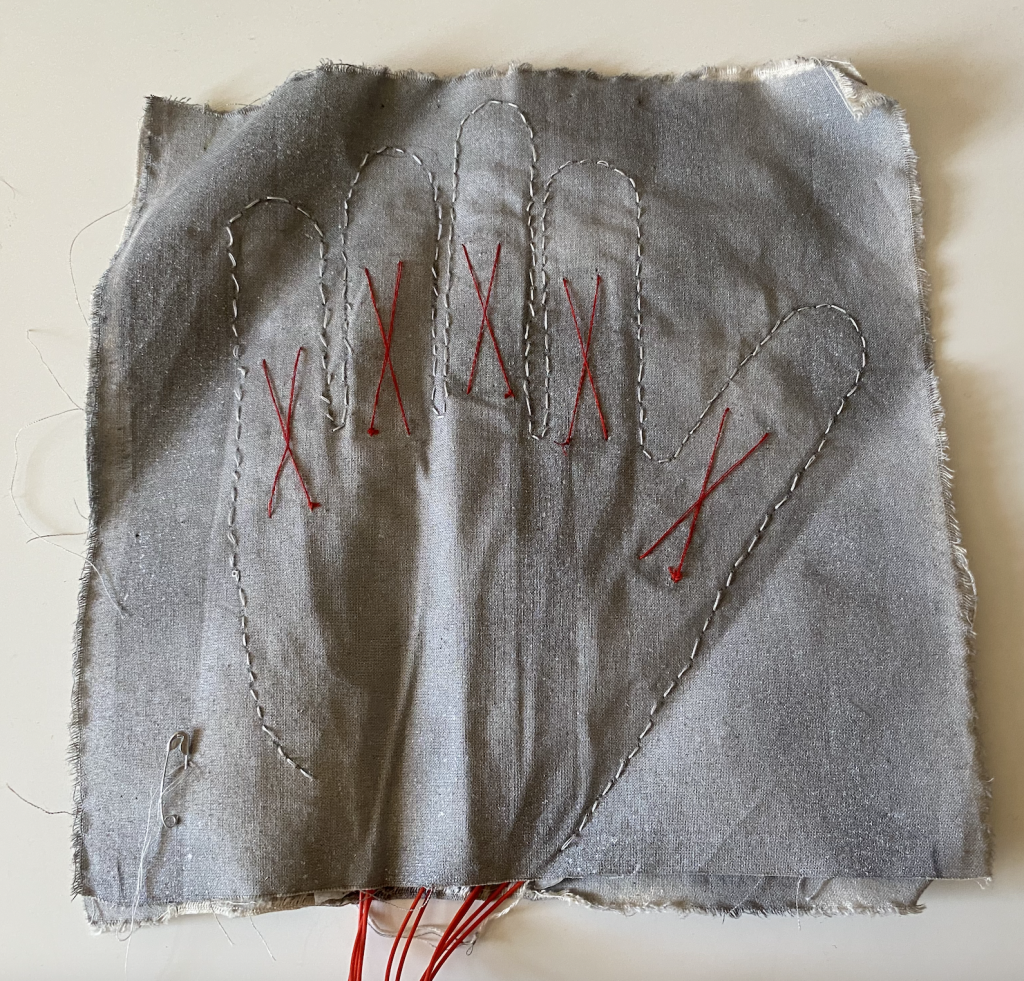
The finished sensors before attached to the dress.
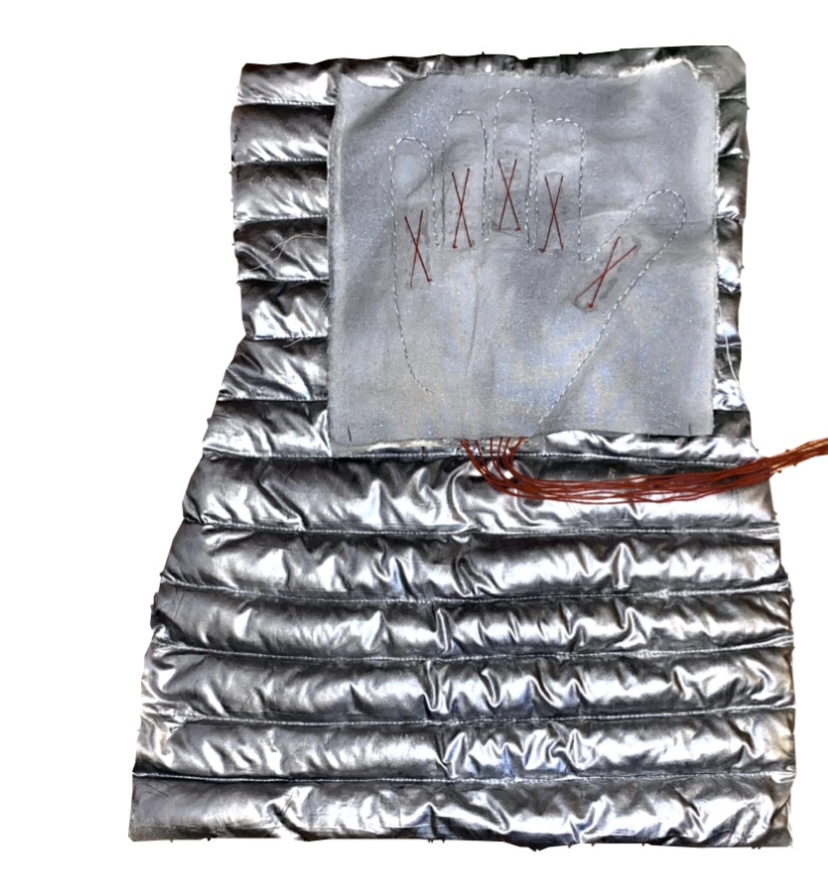
I attached the sensors to the dress by safety pinning the back side of the fabric, allowing the sensors to be used in other contexts in the future.
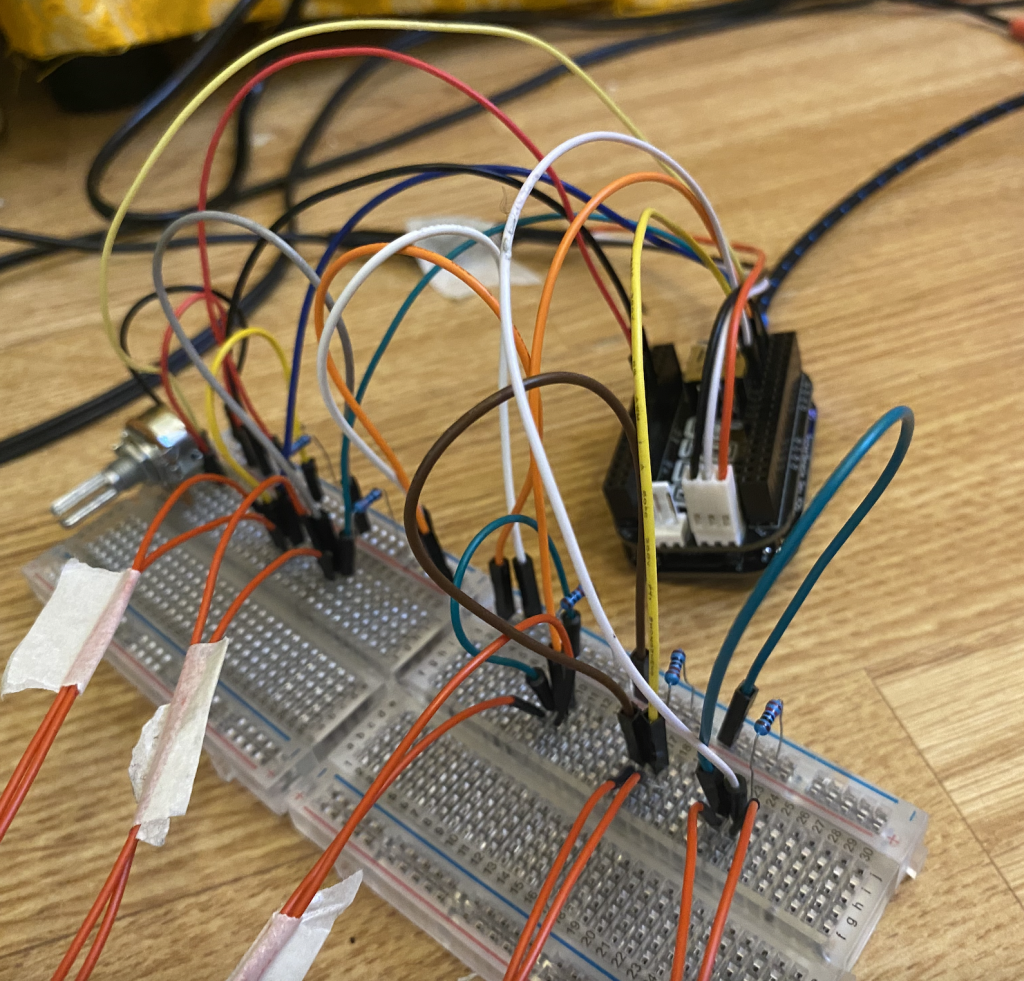
These pictures show how I set up the sensors using two breadboards and a Bela mini. The hardware set-up also includes; 13 jump wires, 5 resisters, 1 potentiometer, power supply, audio output.
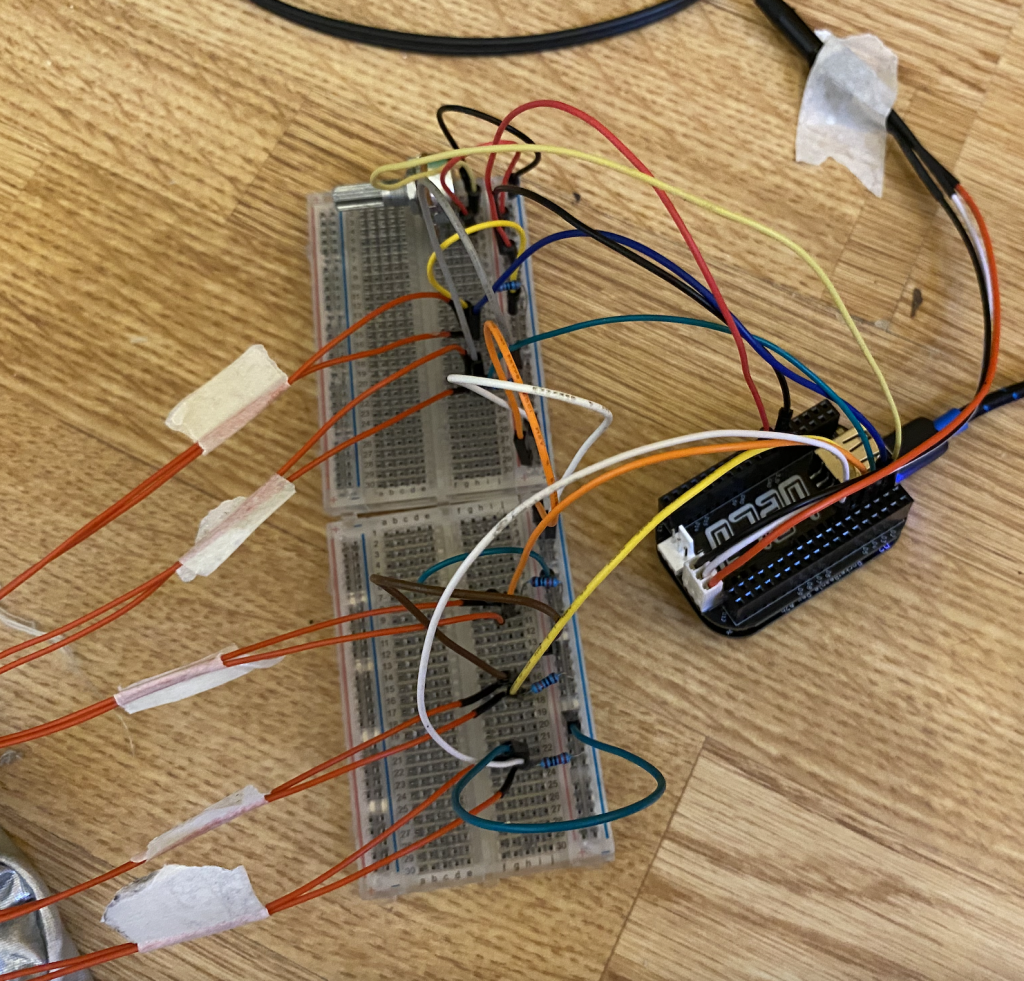
Example of the sound sculpture as a wearable instrument.
